- Published Mar 8, 2023
- Last Modified Aug 29, 2023
- 11 min
A Complete Guide to Soldering Irons
From soldering stations to tips, our soldering iron guide takes you through all the equipment you need to solder.

In this guide, we will look at some of the many different uses of soldering irons, weigh up the pros and cons of the various equipment and accessory types available, and explore which sorts of soldering kits might be best used for specific tasks or applications.
What is a Soldering Iron?
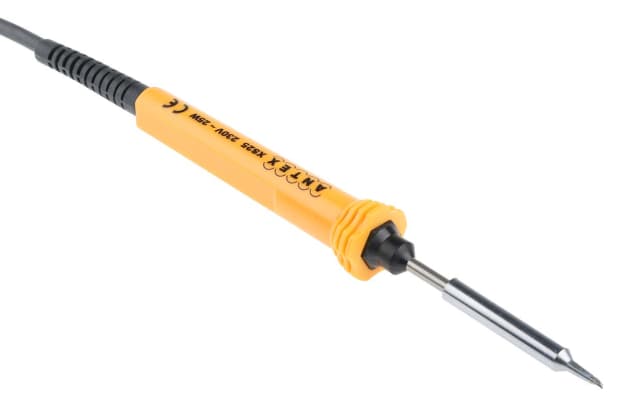
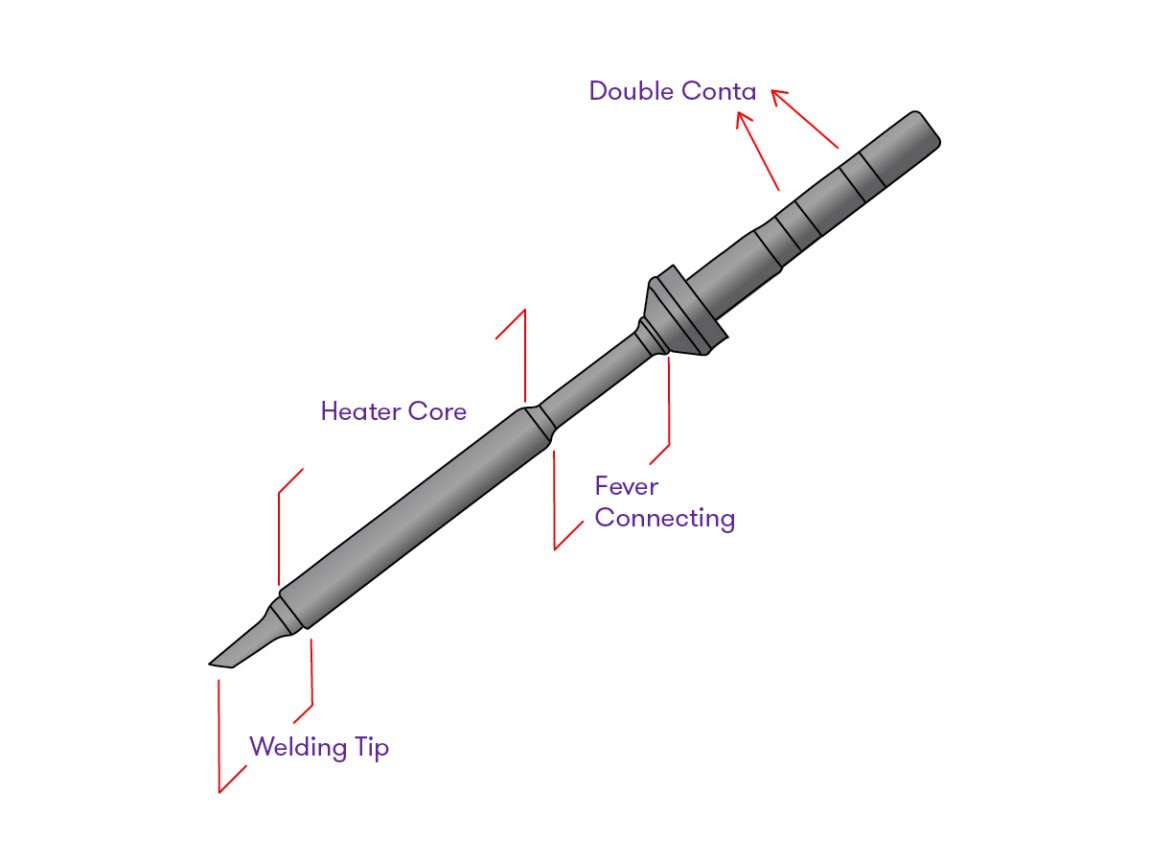
A soldering iron is the primary piece of hand-held equipment used in the process of soldering, wherein a small quantity of fusible metal alloy - known as solder - is heated to a high temperature with the tip of the iron.
As it melts, this solder material is directed to flow into the spaces between and around two components or workpieces. Once bonded, the solder is then left to cool and harden, creating a fixed and conductive join that remains permanent until reheated sufficiently to melt the solder back into liquid form. This process of reheating and separating a previously soldered join is called desoldering.
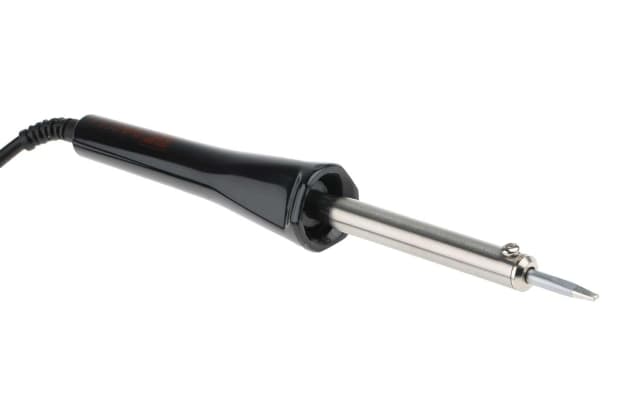
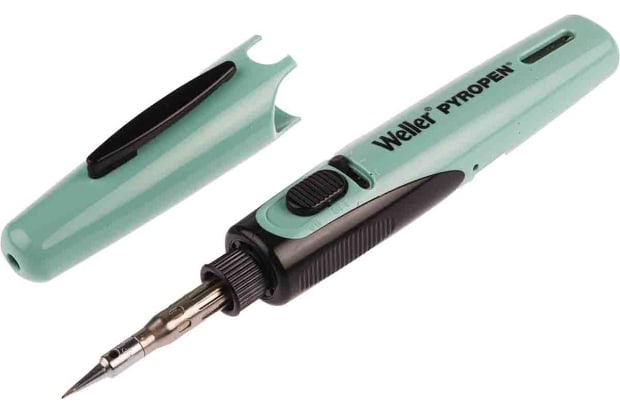
Soldering irons are typically plugged into a wall socket in order to deliver their heat electrically via an elongated metal tip containing a heating element, although various different types of cordless models are also available. The user holds the iron at the other end from the heated tip, where an insulated handle provides a convenient grip for enhanced accuracy in manipulating the tool around small or delicate components.
What is a Soldering Iron Used for?
In terms of the sheer number of things it can be used to build, fix, augment or disassemble, the full range of potential soldering iron uses is effectively limitless. However, all of this incredible versatility can be categorised under two core functions - soldering and desoldering.
Soldering involves allowing the heated tip of the iron to reach very high temperatures before using it to melt the solder wire around the components that will be soldered. As it cools back to room temperature, the bond will solidify and become permanent - at least until it is desoldered.
Tool temperature is critical, as the soldering iron must get hot enough to melt the solder to a liquid state, but without melting or damaging the components. Some more advanced models of iron will include an adjustable temperature feature, offering enhanced control and greater compatibility with a range of different solder types. However, the majority will simply heat themselves to a preset level automatically on connection to the mains or another suitable power supply.
The basic process of soldering is broadly seen as fairly simple and straightforward. However, knowing exactly how and when to use a soldering iron for the best possible results is something that professional engineers continue to develop over years of dedicated use, and learning the proper techniques for achieving a neater, more effective join can demand a significant level of finesse and experience.
For help learning how to solder, you can read our beginners' guide to soldering for more handy tips, safety advice, and assistance learning the best soldering techniques for a variety of different scenarios.
Different Types of Soldering Equipment
There are many different types of soldering equipment and kits available to both hobbyist and professional users alike, ranging from basic fixed tools to a wide range of interchangeable add-ons, extras and accessories. In the section below, we will look at some of the options you might like to consider, depending on how often you will be using your soldering iron and the sorts of jobs you are likely to be doing with it.
Soldering Stations
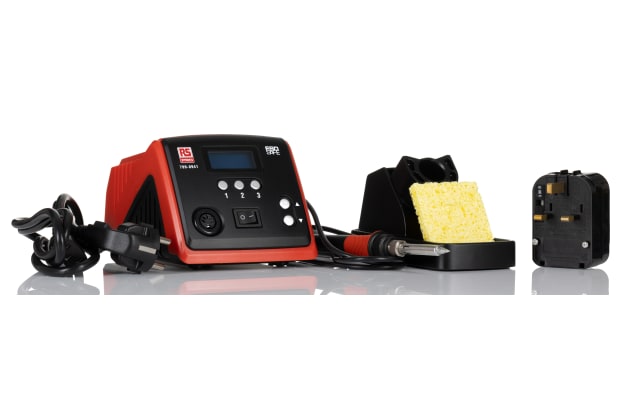
What is a soldering station, and how is it different from a basic soldering iron? In short, a soldering station tends to form the basis of a slightly more advanced and professional setup. Whereas a basic iron will often be a relatively simple tool that preheats to a fixed temperature, ideal for performing fairly rudimentary maintenance or assembly tasks, a soldering station acts as a separate control unit.
The enhanced functionality provided by a station will almost always deliver a more comprehensive and versatile set of features than standalone tools can offer, allowing the user to tackle a far greater range of more delicate and refined soldering jobs.
The list below shows some additional options you might encounter with a soldering station.
Additional Variations:
- ESD-safe (electrostatic discharge) models
- Hot air and vacuum capabilities
- Increased range of tip temperature options
- Choice of LED or LCD displays
Why Use a Soldering Station?
The most obvious difference between soldering stations and soldering irons is that they usually provide the ability to dial in a range of specific temperatures, rather than just one fixed heat setting as you will tend to have with a standalone tool.
A soldering station’s temperature control dial can be either analogue or digital; the latter is much more common these days and tends to offer a far greater degree of accuracy for heat-critical applications.
Soldering Iron Tips
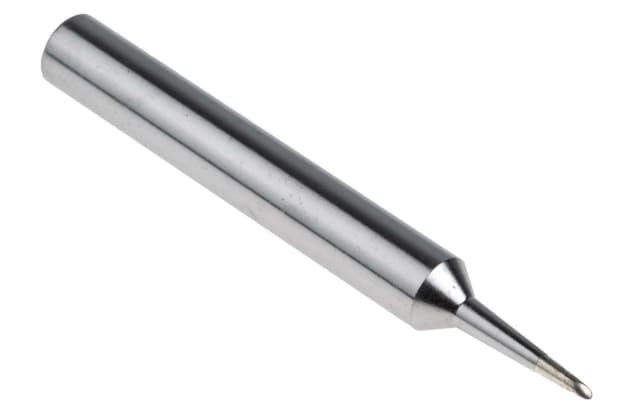
Many models of soldering iron can accommodate a variety of removable soldering tips, sometimes referred to as bits. In seeking to achieve the most professional and effective results, you will often find that different types of soldering jobs, components and surfaces will benefit from the use of various shapes and styles of tip being inserted into the handle of your iron to allow for greater precision.
Provided that your tool offers this sort of swappable socket feature, you will generally be able to choose from a reasonably wide range of soldering iron tips made of numerous materials, shaped specifically for handling particular jobs.Many of these basic tip shapes will also be available in bent, angled or long-reach variants, allowing for extra precision or convenience on certain types of workpiece or when soldering in harder-to-access areas.
It is important to take good care of your soldering tips during their active working life, in order to increase their overall longevity and reduce the need for regular replacement. We will look at a couple of key ways to care for your soldering equipment at the end of this guide.
Common Tip Shapes:
- Bevel (hoof tip)
- Chisel
- Conical
- Knife or blade
Bevel Tip
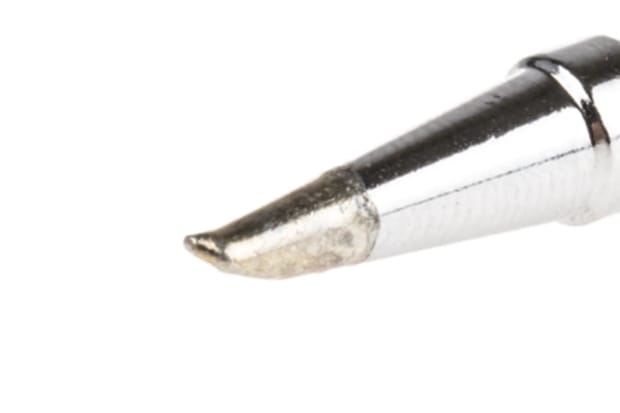
The end of a bevel or hoof soldering tip is cut off at an angle, such that the available surface area is actually larger than the diameter of the bit itself.
Ideal Applications:
- Drag-soldering
- Soldering small-gauge wires together
Chisel Tip
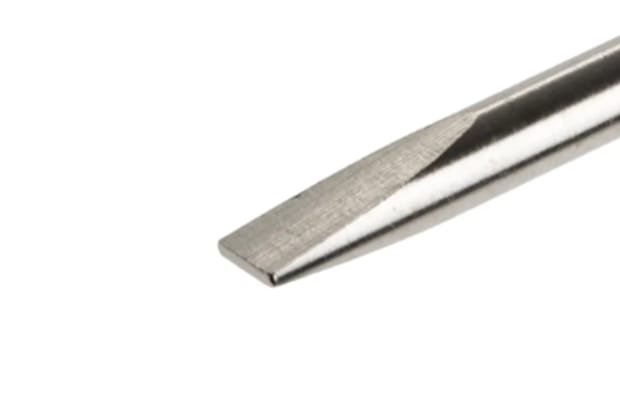
A chisel soldering iron tip features a broad, flattened shape. This helps to deliver more heat and deposit solder more evenly across larger areas, such as component leads and pads.
Ideal Applications:
- Soldering wires
- Through-hole and surface-mount components
- Desoldering
Conical Tip
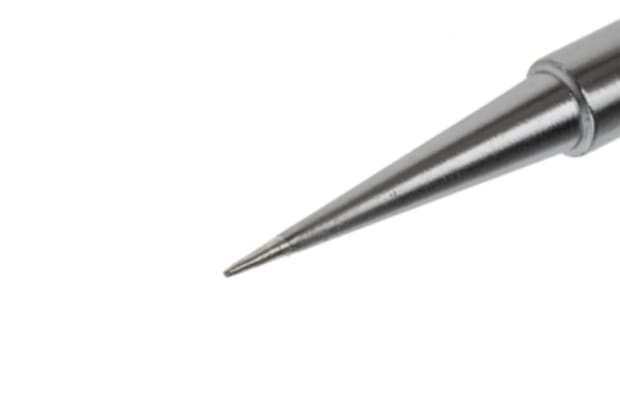
The end of a conical soldering tipforms a fairly tight point, rather like a pencil end. This enables the tip to deliver concentrated heat across a much smaller area. Along with chisel tips, these are often seen as a standard tip shape.
Ideal Applications:
- General soldering applications
- Delicate electronics work
Knife or Blade Tip
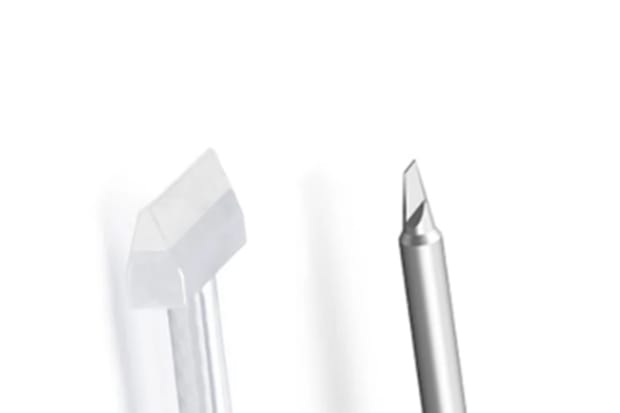
Knife and blade soldering iron tips both feature flattened tips. A knife tip (shown on the right) features a sharper edge down one side. Conversely, a blade tip (shown on the left) hasa broader, thinner spreading surface.
Ideal Applications:
- Desoldering (or othermaterial removal tasks)
- Depositing material into narrow gaps
Soldering Pastes
For certain specific electronics applications - most commonly when working on attaching smaller conductive components to PCBs - you may find it helpful to use soldering paste instead of a traditional coiled solder wire material.
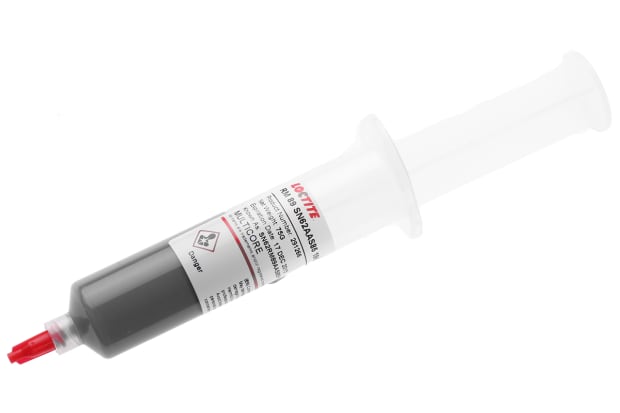
What is soldering paste? Basically, it is a combination of powdered solder suspended in a thick, sticky medium known as flux. When using soldering pastes, the flux base acts as a temporary adhesive, helping to hold the component loosely in its required position even before any heat is applied with a soldering iron.
Solder paste is generally available in a range of different grades (Type 1 to Type 8), where higher-numbered grades indicate a finer grinding of solder material suspended in the flux medium. The best choice for your requirements will largely depend on the level of printability required for miniature components and fine detail work.
Ideal Uses:
- High-precision work
- Mass production of PCBs
- Protoype PCB assembly
What is Desoldering?
In the simplest terms, desoldering is the opposite of soldering. In other words, it means to remove solder from an existing join, whether for complete disassembly or simply as the first step in improving a weak bond during everyday troubleshooting applications.
However, although desoldering can be a pretty basic job, it is still important to follow the correct process and ensure the task is done correctly.
Why Desolder?
There are numerous reasons why you might need to desolder an existing bond between components or workpieces.
Essentially, the main aim of any desoldering job is to cleanly remove melted material (be it wire, flux or paste) from the location you are working on, such that the component can be reseated and a better bond can be created at the next attempt. As such, the three basic steps in any desoldering operation will be as follows:
- Heating up the old hardened solder material, to return it to a liquid state
- Removing the attached wire or component carefully without damaging anything
- Cleaning up the existing solder to provide a neat surface for remounting
Numerous techniques and tools exist for achieving these basic goals but the simplest version is just to reheat the old solder with a simple fixed-temperature iron. While this will not offer many options for a high-finesse job, it can be effective if you just need the basic ability to remove a component.
For more detailed work, or to give yourself a better chance of removing all traces of previous soldering jobs, you might like to consider any of the following:
Desoldering Equipment
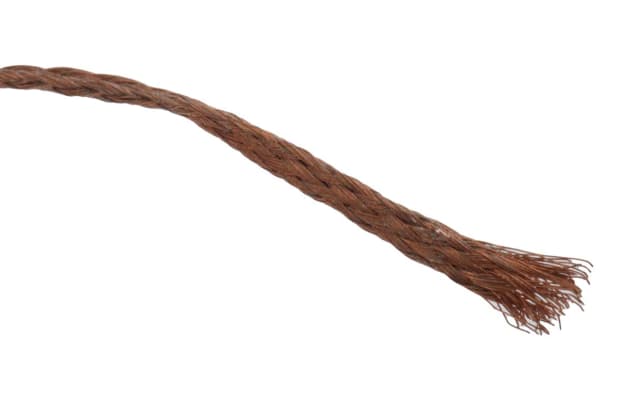
Desoldering Braid (sometimes called solder wick)
This is plaited or braided copper wire usually sold on a small reel, which can be heated between the iron’s tip and the workpiece in order to soak up any excess solder. Solder wick is ideal for working on flat surfaces, but of limited use in trickier spaces.
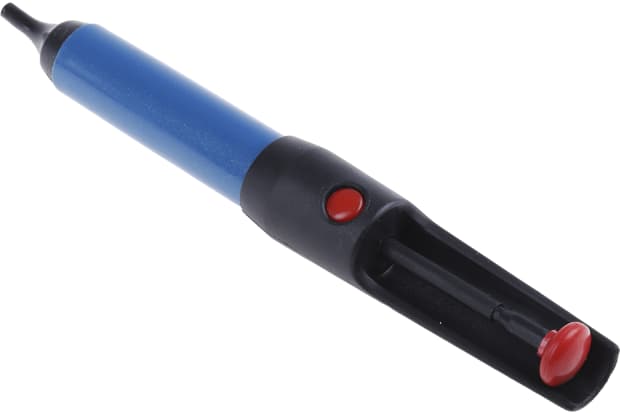
Desoldering Pumps
These are a range of small, high-pressure vacuum tools that can either be hand-powered for use with an iron, or electrical and self-heating. Desoldering pumps are more effective than braid for cleaning solder out of pinholes and other tricky areas, but often too large to manoeuvre into particularly small spaces.
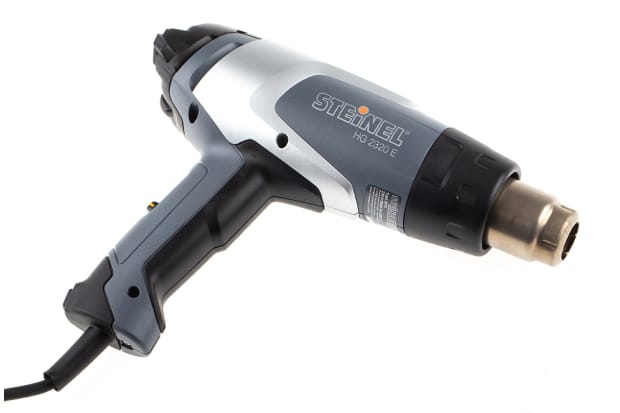
Heat Guns and Compressed Air
If you can’t access a particularly tight spot with traditional soldering tools, you may sometimes be able to remove unwanted material by using a highly directional hot air gun in combination with blasts of high-pressure air. This method will require additional safety wear and is not suitable for applications involving delicate components, so it should only be used if no alternatives are available.
How to Clean and Maintain Soldering Equipment
It is important to take good care of irons, tips and other soldering accessories in order to prolong the useful working life of your soldering tools and equipment. Among the most basic forms of maintenance and upkeep you can perform with this type of equipment - much like with any other tool type - is regular soldering iron cleaning.
The easiest way to clean soldering iron tips is simply to manually wipe off any build-up of debris from previous sessions - examine the tips for any residual bits of solder and carbon. However, with heavy use, you may find that further cleaning is required.
For best results, it is generally recommended to also make regular use of an iron brush or a solder iron cleaning sponge. These are often sold in a kit, consisting of a cleaning tray and either a sponge material of flux and powdered solder or a spiral ball of dry metal wool. More advanced tip-cleaning kits leave you with a fine solder layer across the tip, which helps to prevent tool oxidation over time.
Popular Brands
Antex Electronics
Browse the full range of soldering irons available from Antex Electronics and discover the most suitable iron for your requirements.
Ersa
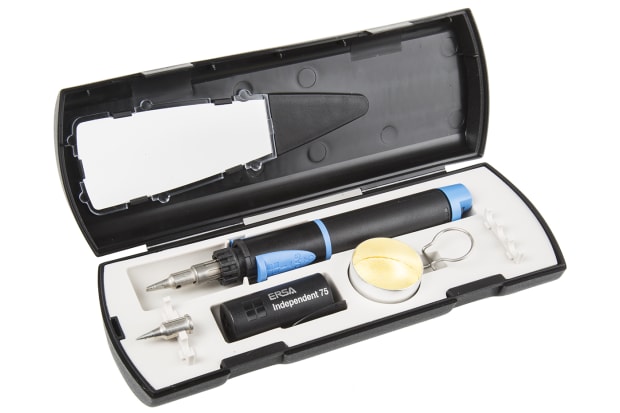
View Ersa soldering iron kits, containing all the equipment you need for basic soldering applications.
RS Pro
RS Pro, our own in-house brand, offers high-quality irons and equipment ideal for a range of soldering applications.
